Politarchopolis Pentathlon Entry 2 – Lead
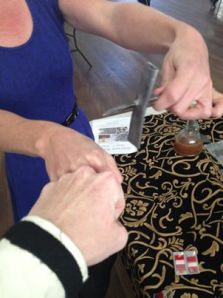
On 19 May 2013, the Descartes Specials submitted their second of five Politarchopolis Pentathlon entries. The focus item for this submission was lead. The team made: a Pasta di muschio casket, Roman defrutum for wine, lead curse tablets and undertook lead and pewter (i.e. lead alloy) casting.
The full documentation is available here: Descartes Specials Entry 2 – Lead.
My contribution to this entry was writing up the documentation for the lead and pewter casting, and to combine all of the teams research into one document. I also carved a soapstone mould for a livery badge and attempted to cast using both pewter and lead. This project represents about the third time I’ve attempted to cast with pewter, and the first time I’ve cast with lead.
Lead and Pewter Casting
Based on 15th and 16th century British examples.
Lead and pewter casting
Items cast from lead and its alloys (namely pewter, which is an alloy of tin and lead) can be documented throughout the SCAdian period and across many countries. Our research uncovered, for example, extant lead and lead alloy pieces from early period by the Norse18, through to late 16th century England and France19,20,21.
Our search for inspiration uncovered items cast from lead and its alloys, including: weights, seals, fishing weights, sounding weights (for determining how deep water is for navigating), spindle whorls, badges, bells, mirrors, buttons, games tokens, drinking flasks, plates, spoons and other cutlery, wine flagons, clothing clasps, rings, brooches and assorted jewellery.18-24
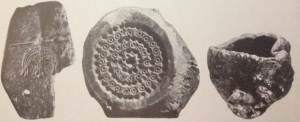
Such items were cast into one of many kinds of moulds. These moulds could comprise of anything from one to several mould pieces. Generally, the more complicated the shape and design, the more complicated the mould. They were made from a variety of materials, including calcareous mudstone, antler , cuttle bone, soapstone, slate and shale.18,19
The Vikings (approximately 8th to 13th centuries) used clay, stone or antler (for cheap mass production) moulds consisting generally of two pieces that were bound together. They would have a funnel-like sprue carved in to allow the molten metal entry into the design. Vikings would melt coins, ingots or scrap metal into crucibles of fine clay over charcoal hearths with bellows. Long-handled iron tongs were used to hold the crucibles over the hearth and to pour the molten metal (including pewter and lead) from the crucible into the mould.18
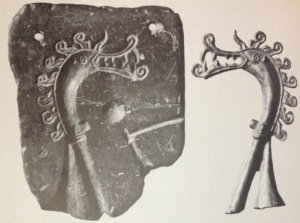
Spencer (1998) described that, in 14th century France and 15th/16th century England, moulds for were carved by specialists. Some were carved with such care and detail as to bring pride to the maker, however, some were less skilful and akin to cheap knock-offs. The author describes that English pilgrim badges were often cast in two piece moulds where the design was carved into one of the mould pieces and the other was left blank, scratched lightly with lattices or carved to follow the basic contours of the design on the first piece. The second mould piece also tended to carry the sprue and, where there were several designs (often repeats of the same design which would allow for multiple casts to be completed at a time. The moulds also tended to include tiny “hair’s breadth” scratches” to allow air to escape the mould (and, thus, allow the metal to better fill the entirety of the design carved into the mould).
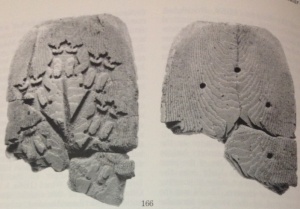
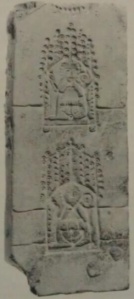
15th century cuttle bone mould, drilled with 2mm diameter holes (7mm deep), width 54mm (reference 19).
Pilgrim badges
Spencer’s19 comprehensive book on the history of souvenirs and secular badges in the medieval period describes, in detail, hundreds of extant pieces. Spencer states that pilgrim souvenirs were made of a wide range of materials, including: palm leaves, paper prints, vellum, leather, wood, cloth, precious metals, pottery, glass, shell, horn, jet, bronze and brass. However, the majority were made of tin-lead alloy as it was a cheap and efficient means of production.
Spencer also describes that livery badges were a specific kind of badge that became customarily worn in the later Middle Ages for the retainers, household and affiliations (e.g. patronage) of kings and nobility. Most of the surviving livery badges were made of an alloy (i.e. pewter) with a low melting point consisting of approximately 60% tin and 40% lead. Like the pilgrim badges, livery badges tended to have a pin and clasp. There were livery badges that did not have these pins and clasps, and these were intended as pendants.
The Project
I carved a design into one half of a two-piece soap stone mould. The back face had a small fox carved into it as a makers mark. Makers marks existed in period, for example, items recovered from the Mary Rose ship from the 16th century included makers marks, possibly due to law:
“legislation in 1503 ordered each pewterer to stamp his mark or ‘touch’ on all his pewter hollow-ware.”20
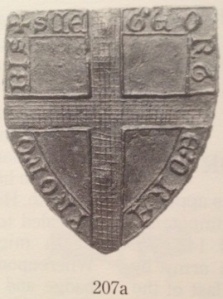
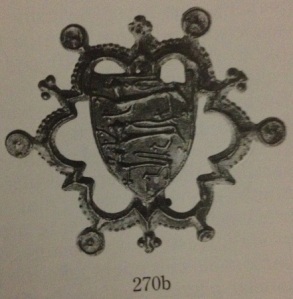
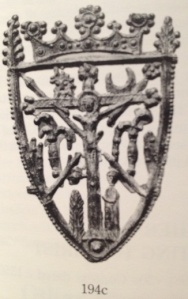
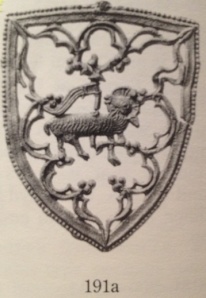
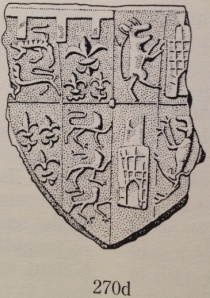
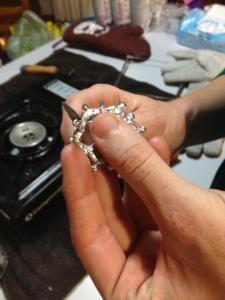
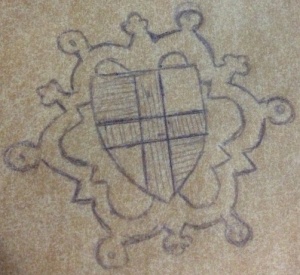
The design is consistent with 15th – 16th examples of heraldic shield designs (e.g. Figures 207a and 270d19) and, more closely, to filigree heraldic shield designs (Figures 270b, 194c, 191a19). The heraldic design chosen was the Lochac populace badge. As described by Spencer19 (and discussed earlier), wearing Kingdom devices on livery badges were common in this time frame. I cast an example of this token in lead, and an example in pewter. The pewter did not move through the mould very well and it proved difficult to try and get an entire cast. The lead, however, managed to pour through the whole mould. The lead seemed to be less viscose than the pewter and picked up more detail from the carving. It’s important to note, however, that the pewter I used was from the recycling of pewter cups and probably did not contain any lead (modern pewter does not contain lead due to safety reasons). In period, perhaps the lead may have been important in lowering the viscosity and melting temperature of tin to get better results. My finished piece was 45mm wide by 40mm wide, consistent with the dimensions of the primary design inspiration (Figure 270b19).
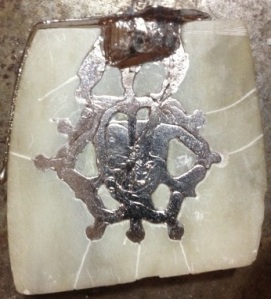
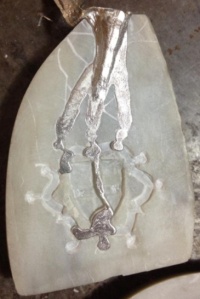
My mould after the lead cast of a livery badge (before metal is removed from mould and the sprue is removed). You can see the ventilation scratches running from the metal out to the edge of the soapstone mould.
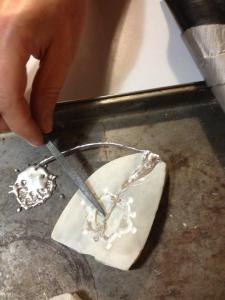
The mould was carved using modern tools, including woodworking tools, mini-screwdrivers and sandpaper. These items were used because they were sturdy enough to carve away at the mediums, and because I had to improvise as we found no details referencing the tools used in period to carve the soapstone and cuttlebone. My mould comprised of two pieces; one with the design carved in and one carved only with a sprue, i.e. the channel to allow the molten metal to be poured into the mould.
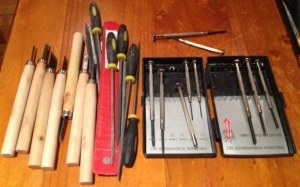
Improvised mould-carving tools that we used as we did not find references period mould-carving techniques.
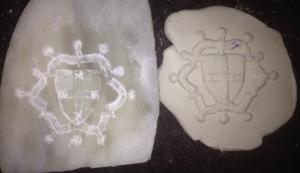
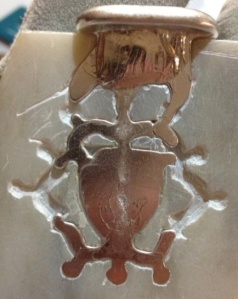
The mould was made by sawing two roughly equivalent-sized pieces of soapstone that were sanded flat on the facing sides (to ensure the poured metal would be restricted to the carved design). The design was then traced onto the face of one part of the mould (pictured below), and carved in with our tools (pictured above).
The design was drawn on to paper. I used a pin-pricking technique from embroidery to transfer the design onto the mould and then the design is carved into the mould, including the sprues.
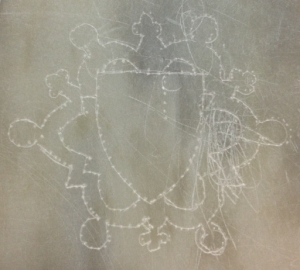
A pin-prick transfer technique (as I use in embroidery sometimes) was used to transfer the design onto the soapstone.
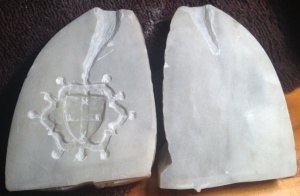
Two pieces of the first incarnation of the mould (before it was changed to try and allow the metal to pour throw better).
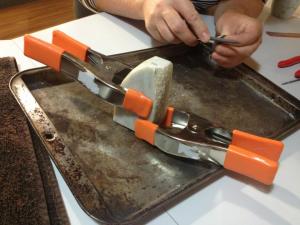
Instead of binding the moulds together, as it was mentioned that the Vikings did18, we used modern clamps to ensure the mould pieces did not move and that the moulds were safe to handle, even when hot.
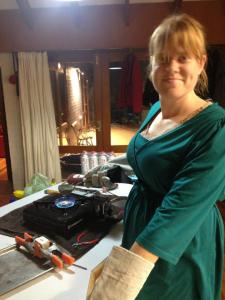
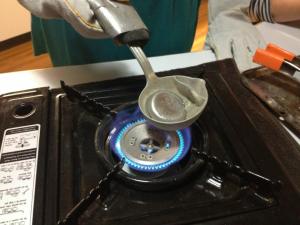
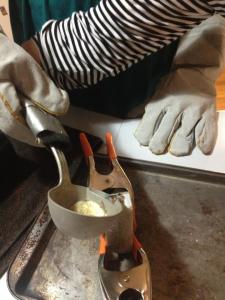
Instead of using a hearth and bellows18, which was not practical for us, we used a gas top heater. Instead of a crucible and tongs18, we used a lipped spoon to melt down the lead or pewter for pouring.
At first, I had trouble getting the molten lead and pewter to fill up the mould designs (see below). To resolve this, I tried various methods to try and get a better result, including:
– Increasing the depth of the carving to increase the width of pathway for the molten metal,
– Increasing the depth and number of sprues to increase the speed of the pour,
– Pre-heating the mould in the oven to ensure the molten metal doesn’t cool too quickly, and
– The addition of ventilation scratches, as described by Spencer19:
“Generally also, tiny vents, often mere hair’s-breadth scratches, run away from each matrix to the edge of the block to facilitate the escape of displaced air during cast.”
After the metal cooled back into a solid state (which took less than a minute for each cast), the mould was unclamped and the cast metal was gently pried from the mould. The resulting pieces had the sprue/s cut off and were tidied up with filing. This was to improve the appearance of the final piece, and to remove any sharp edges.
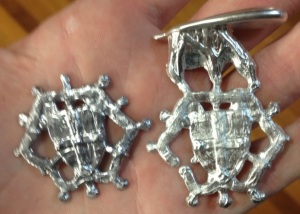
My livery badge results in lead (left) and pewter (right). The pewter would not entirely fill the mould and still has the sprues attached.
References
18. Graham-Campbell, J and Kidd, D (1980). The Vikings. Published for the Trustees of the British Museum by British Museum Publications Limited, pages 142-145.
19. Spencer, B (1998). Pilgrims Souvenirs and Secular Badges, Medieval finds from Excavations in London. Museum of London. Pages 7-9, 155-156, 172-173, 277-281.
Figures included in this documentation:
· Two piece cuttle bone mould, 15th century.
· 103, c1400-1450. No information about size.
· 174, c1400-1450, 26mm diameter.
· 175, no date listed but similar to 15th century examples, 27mm diameter.
· 191a, 14th century, 42mm.
· 194c, c1500, 57mm high.
· 207a, late 15th century, 40mm high.
· 270b, 1340-c1406, 46mm high.
20. The Mary Rose Trust (2005). Before the Mast, Life and Death Aboard the Mary Rose. Edited by Gardiner, J and Allen, M.J.
21. The British Museum (accessed 2013). Portable Antiquities Scheme. http://finds.org.uk/
22. digDeeper (last modified 5 July, 2012; accessed 2013). Tokens made of lead are common finds on farmland.
http://www.digdeeper.org.uk/?page=Lead%20Tokens
23. Conner, J (accessed 2013). 15thC Lead tokens. Colchester Treasure hunting and Metal Detecting, twinned with Midwest Historical Research Society USA.
http://www.colchestertreasurehunting.co.uk/numbers/15thctokens.htm#
24. Mills, N (2003). Medieval Artefacts. Green light Publishing.
